
DIY Flower Press Drawer Pulls Using Hot Glue
Advertisements
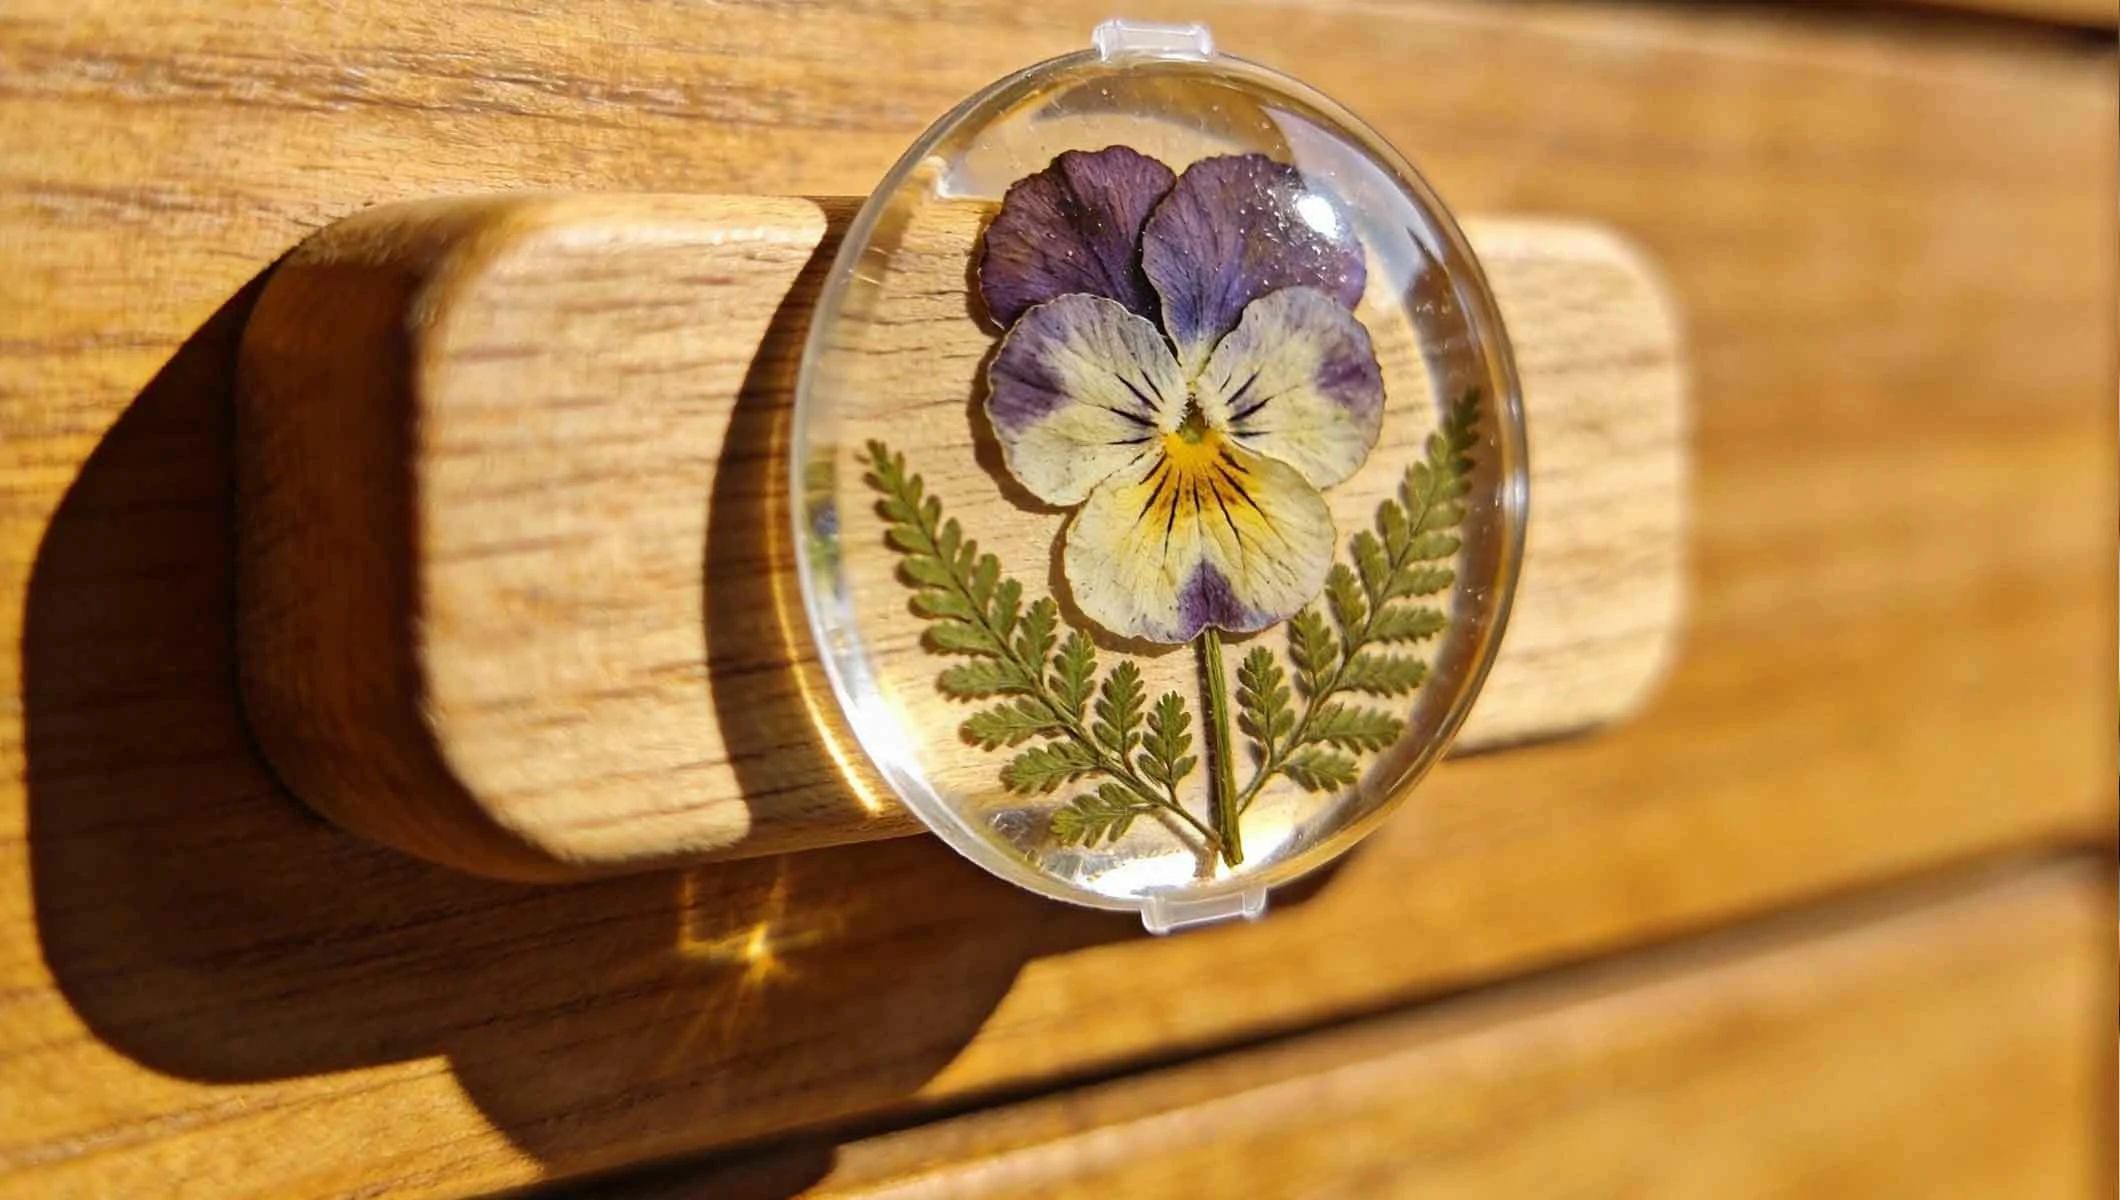
Breathe new life into plain furniture with a touch of preserved nature. DIY flower press drawer pulls are a stunning and personal way to customize your home decor, transforming ordinary cabinets and drawers into unique works of art. This project creatively combines the timeless technique of flower pressing with the surprising versatility of hot glue, resulting in durable, beautiful, and completely customized hardware. Unlike more complex resin-based methods, using hot glue as an adhesive and sealant is accessible, fast, and requires minimal specialized tools. This guide will walk you through the entire process, from selecting the perfect blooms to securely installing your finished masterpiece, empowering you to create heirloom-quality drawer pulls that tell a story.
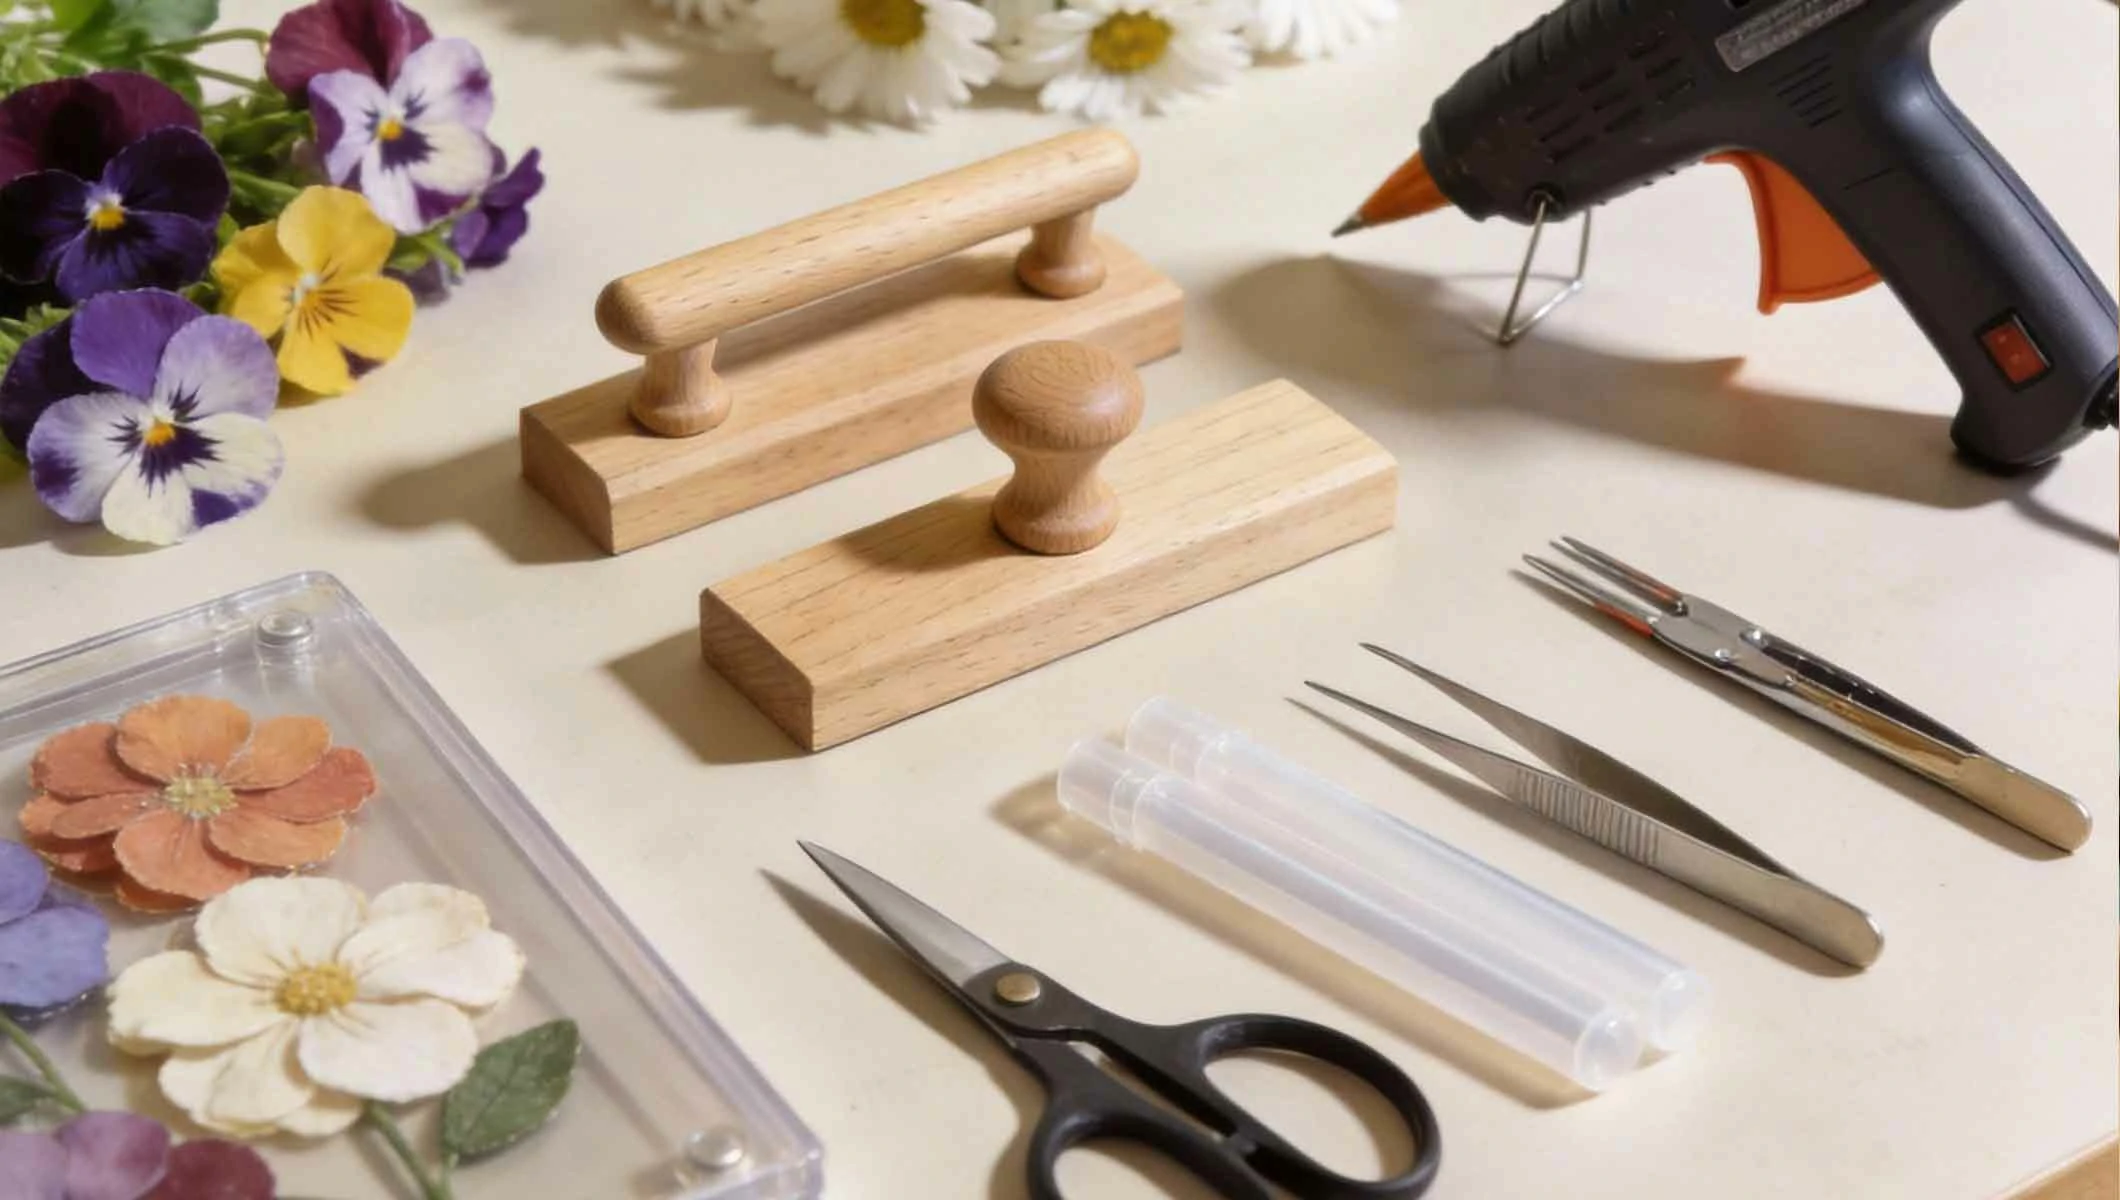
Essential Materials and Tools for the Project
Gathering the right materials is the first crucial step to ensure a smooth and successful crafting experience. Having everything on hand before you begin will make the process more enjoyable and efficient. While the core items are simple, each plays a specific role in the creation and preservation of your floral drawer pulls.
1. 🔨 Drawer Pull Bases
The foundation of your project. You can use new, unfinished wooden knobs or pulls, or upcycle old metal or ceramic ones. Wood is highly recommended for beginners as it provides a porous surface for the hot glue to bond securely. Ensure the base has a flat, smooth area large enough to accommodate your pressed flower design.
2. 🌼 Fresh Flowers and Foliage
Select flowers with naturally flat faces and relatively thin petals, such as pansies, violas, daisies, forget-me-nots, small ferns, or baby's breath. Avoid very thick, succulent, or overly moist blooms as they do not press or adhere well. The best flowers are picked on a dry day, free from morning dew or rain.
3. 🛠️ Hot Glue Gun and Glue Sticks
A standard hot glue gun is sufficient. For more control and to avoid potential heat damage to delicate flowers, a low-temperature gun is ideal. Have plenty of clear, transparent glue sticks on hand. The quality of the glue matters—opt for a brand known for clarity and strength to act as both adhesive and a protective dome.
4. 📚 Flower Press or Heavy Books
To properly dry and flatten your botanicals. A dedicated flower press with absorbent paper is best for optimal results and faster drying time. Alternatively, you can use heavy textbooks lined with parchment or blotting paper. The pressing process typically takes 1-3 weeks.
5. 🧪 Clear-Drying Craft Sealant (Optional but Recommended)
While the hot glue provides a protective layer, a final spray or brush-on sealant (like a clear acrylic spray or mod podge) over the entire pull adds an extra level of durability, UV protection, and a unified finish. It helps prevent yellowing of the glue over time and seals the edges completely.
6. 📏 Miscellaneous Tools
Tweezers for handling delicate pressed flowers, scissors, a small paintbrush for applying optional sealant, rubbing alcohol and a cloth for cleaning the pull base, and a pencil for lightly sketching your design layout.
Advertisements
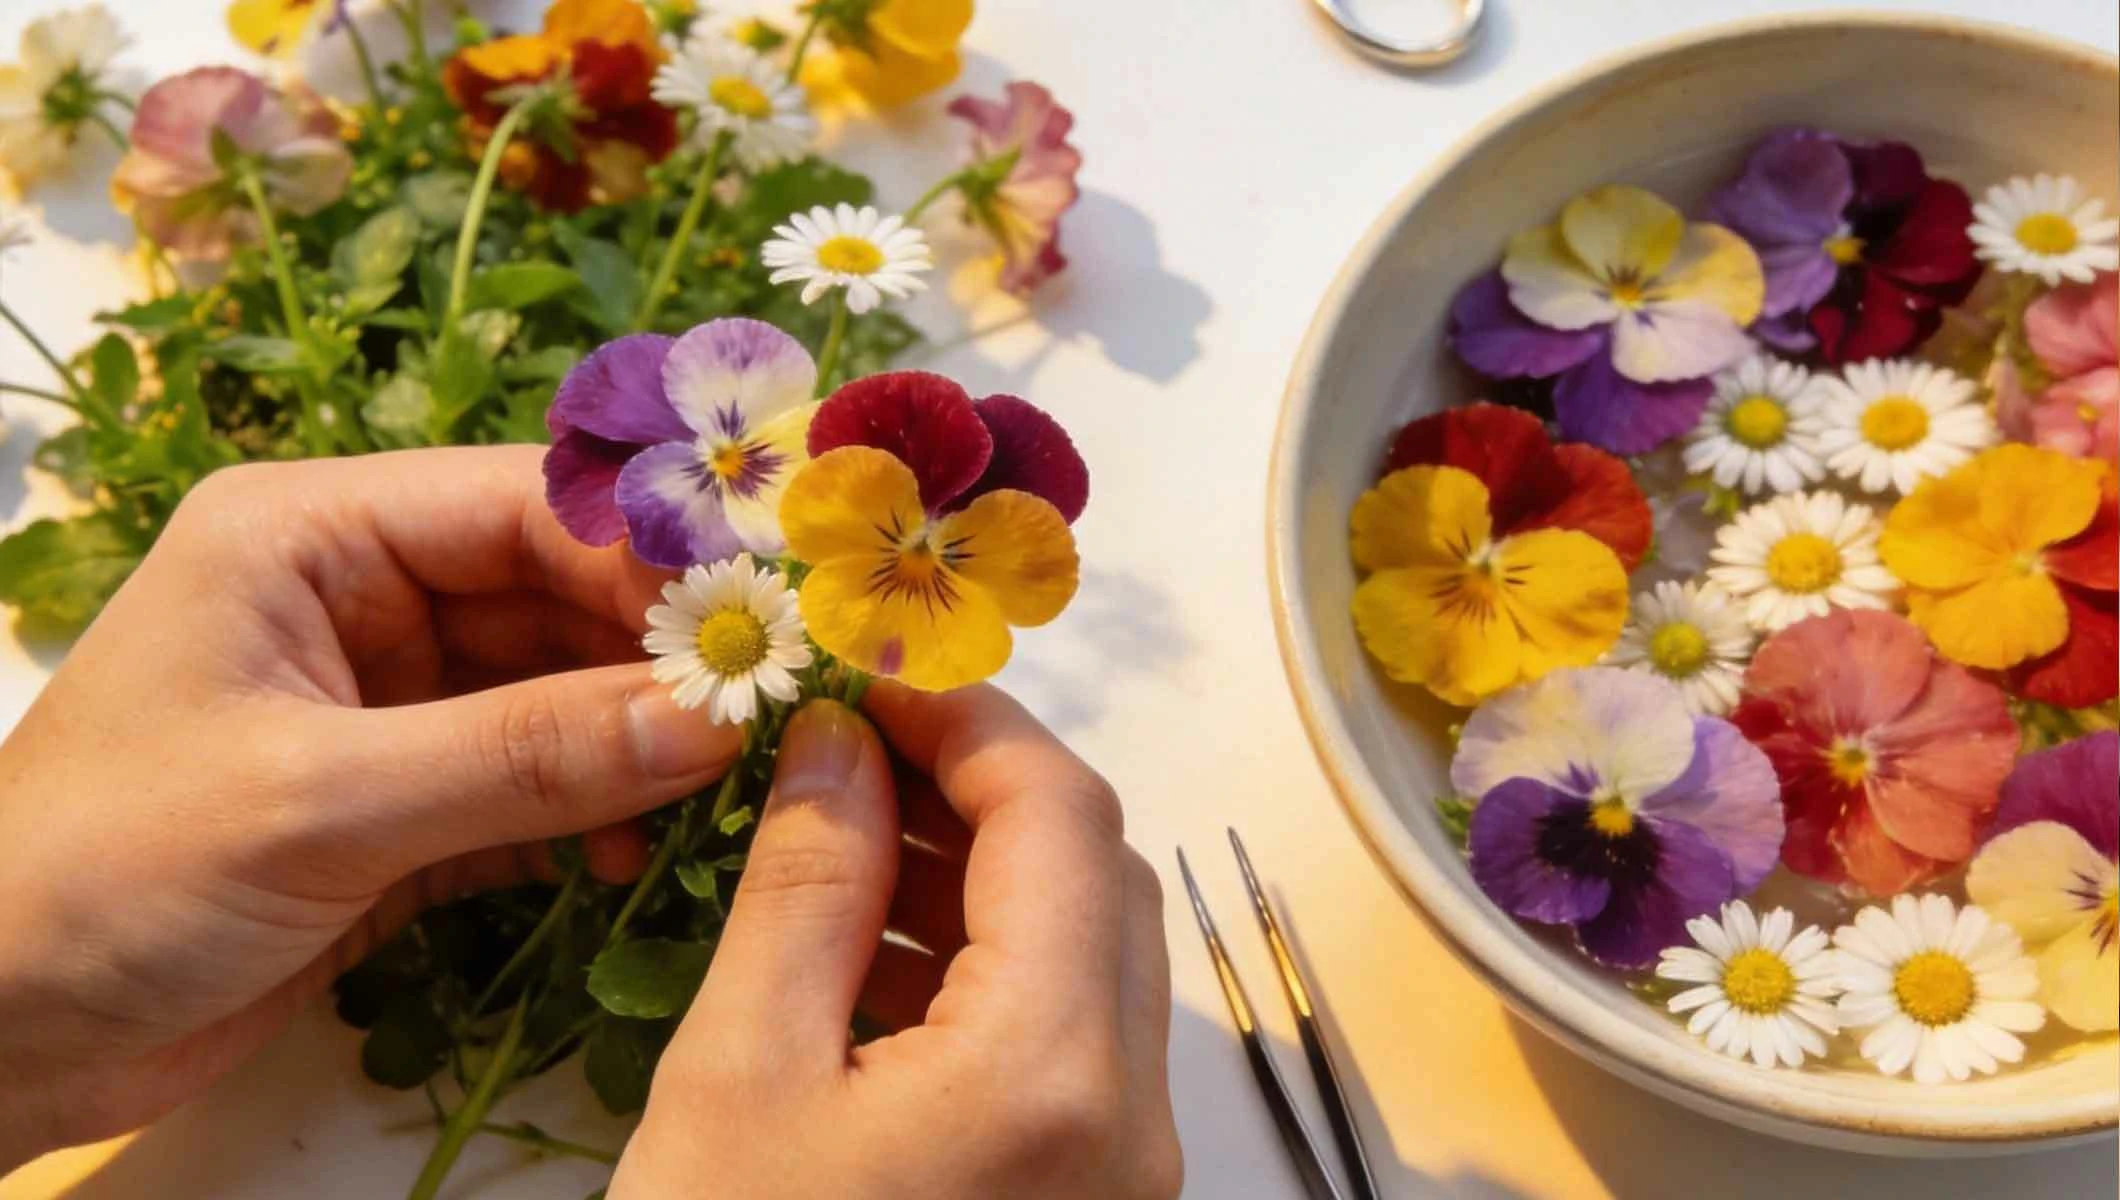
Selecting and Preparing Your Botanicals
The beauty of the final piece hinges on the quality of your pressed flowers. This stage requires patience and attention to detail, as proper preparation ensures vibrant colors and intact shapes that will last for years under their glue dome.
1. 🌸 Choosing the Right Flowers
Focus on flowers that are in peak condition but not fully matured. Buds that are just beginning to open often press beautifully. Consider color contrast and composition—how will the purple of a pansy look against a dark wood pull? Gather a variety of sizes and shapes, including small filler flowers and interesting leaves, to create dynamic arrangements.
2. 🧼 Cleaning and Prepping
Gently remove any dirt or small insects. Trim stems very close to the base of the flower head. For complex flowers like daisies, you may separate the flower head from its thick center to create a flatter profile. The goal is to minimize the 3D bulk that needs to be compressed.
3. ⏳ The Pressing Process
Arrange your flowers face-down on the absorbent paper of your press or between sheets of parchment paper inside a book. Ensure they are not overlapping. Layer more paper on top, close the press or book, and apply weight. Leave them undisturbed in a dry, warm place. Check after a week; they should feel papery and dry to the touch. Any moisture left will cause mildew under the sealed glue.
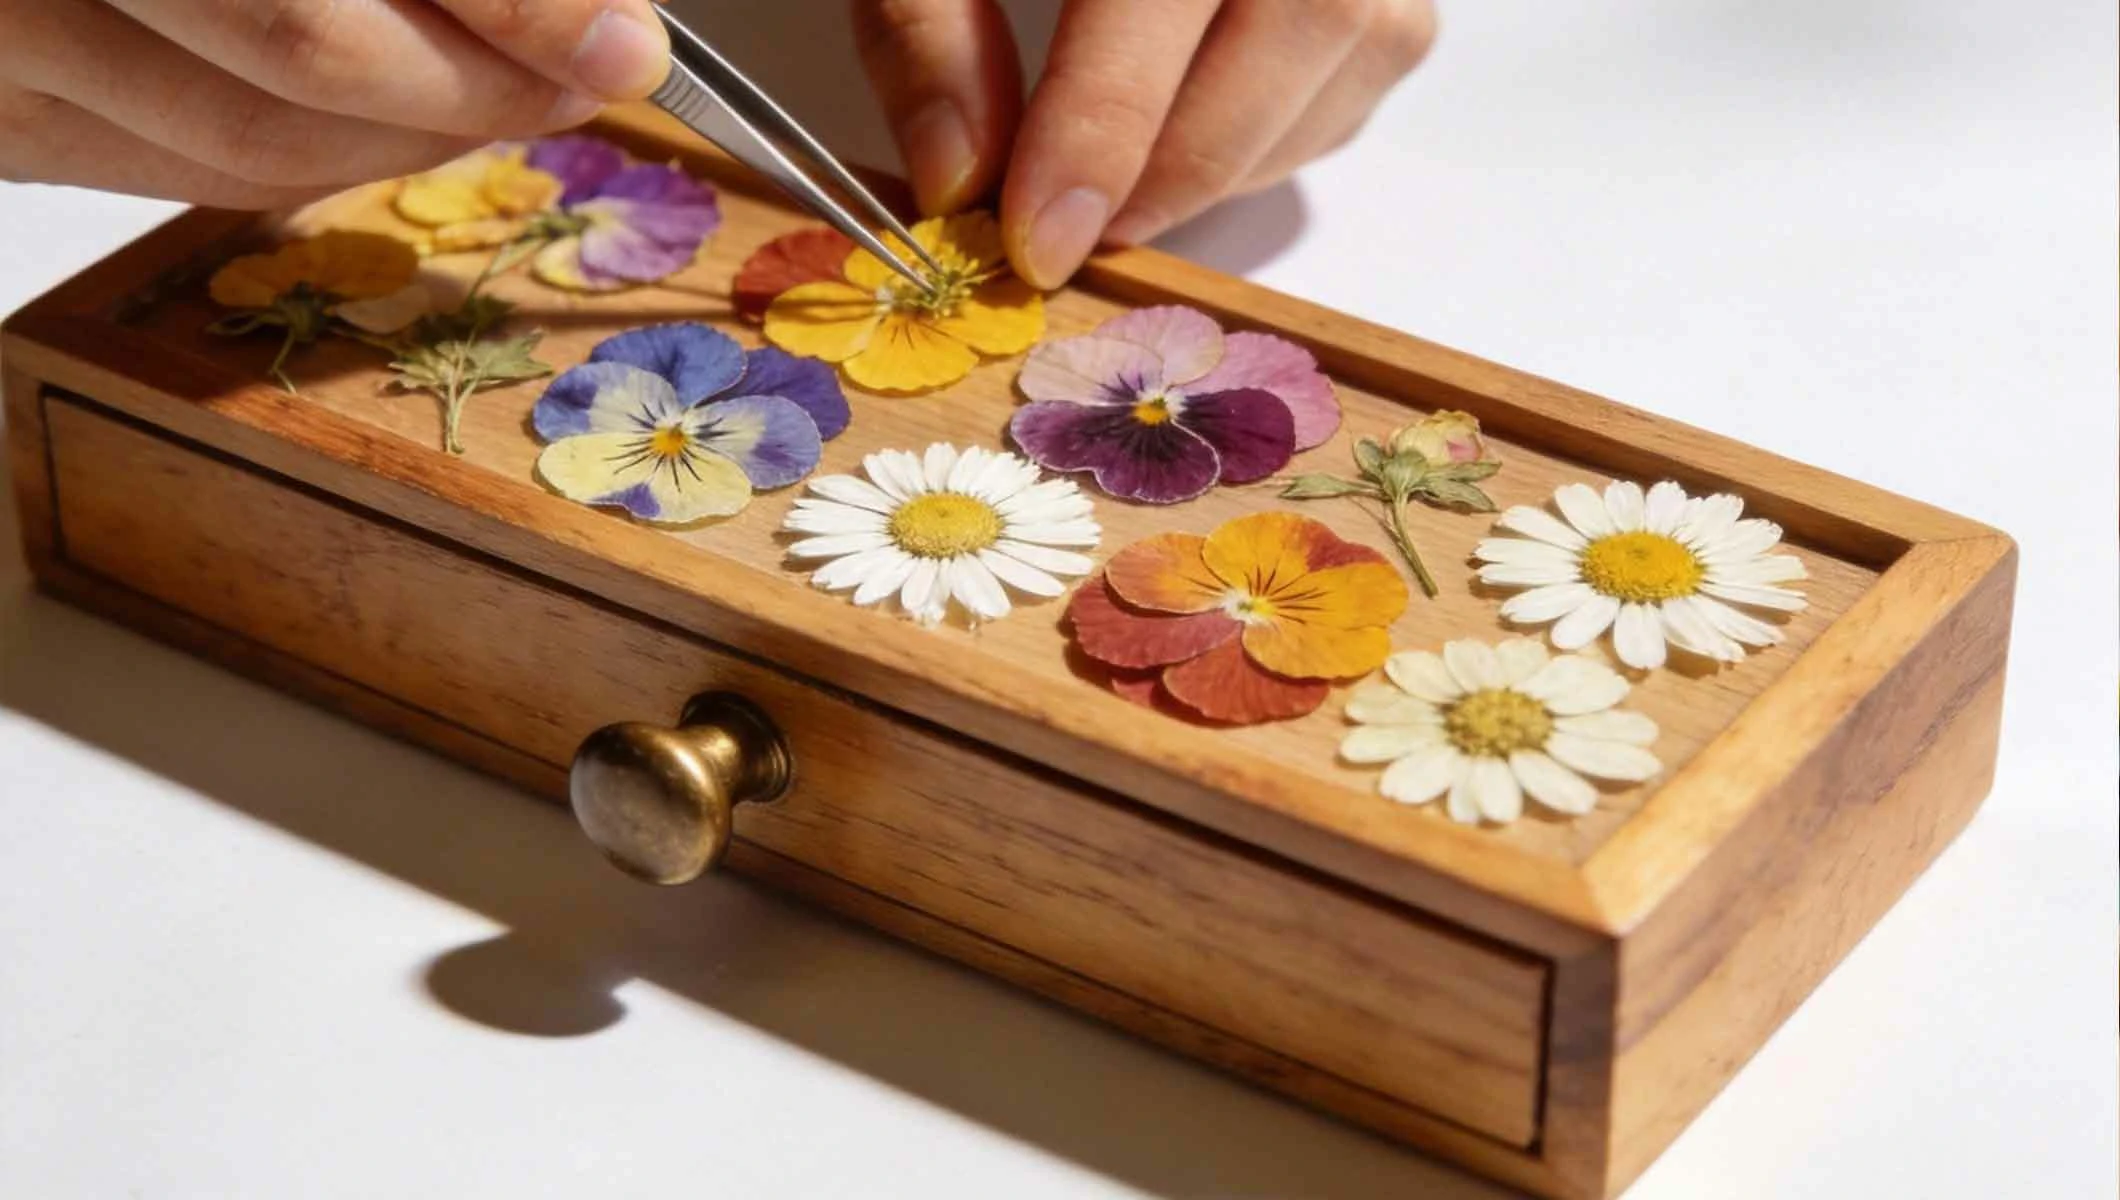
Designing and Arranging the Composition
Before the glue gun heats up, planning your layout is key. This creative step allows you to compose a miniature piece of floral art that fits perfectly on the hardware's surface.
1. ✏️ Dry Fitting Your Design
Using your tweezers, carefully place your dried flowers and leaves on the clean surface of the drawer pull. Experiment with different arrangements—a single statement bloom, a small clustered bouquet, or a scattered, whimsical pattern. Use a pencil to lightly mark reference points if needed.
2. 🎨 Considering Color and Balance
Create visual interest by balancing colors and shapes. A large, dark flower can be offset by tiny, light-colored filler blooms. Ensure the arrangement is contained within the area you intend to cover with the hot glue dome, leaving a small border of the pull base visible if desired.
3. 📝 Finalizing the Layout
Once satisfied, take a photo with your phone for reference. Then, carefully remove the flowers in reverse order, keeping them organized so you know exactly how to replace them when gluing.
Advertisements
Advertisements
You May Have Missed
The 10 riskiest dog breeds to keep at home
Put an onion under your feet while you sleep and see what happens