
DIY Cooling Rack Organizer
Advertisements

For avid bakers, cooling racks are indispensable tools. Yet, their awkward shapes and tendency to multiply can lead to a cluttered drawer, cabinet chaos, or precious countertop space being permanently occupied. A dedicated cooling rack organizer solves this problem elegantly, keeping your racks upright, accessible, and protected. Building your own is a satisfying, cost-effective weekend project that tailors storage to your specific collection. This guide will walk you through creating a functional and sturdy DIY cooling rack organizer, from planning to final assembly.
1. Materials and Tools You Will Need
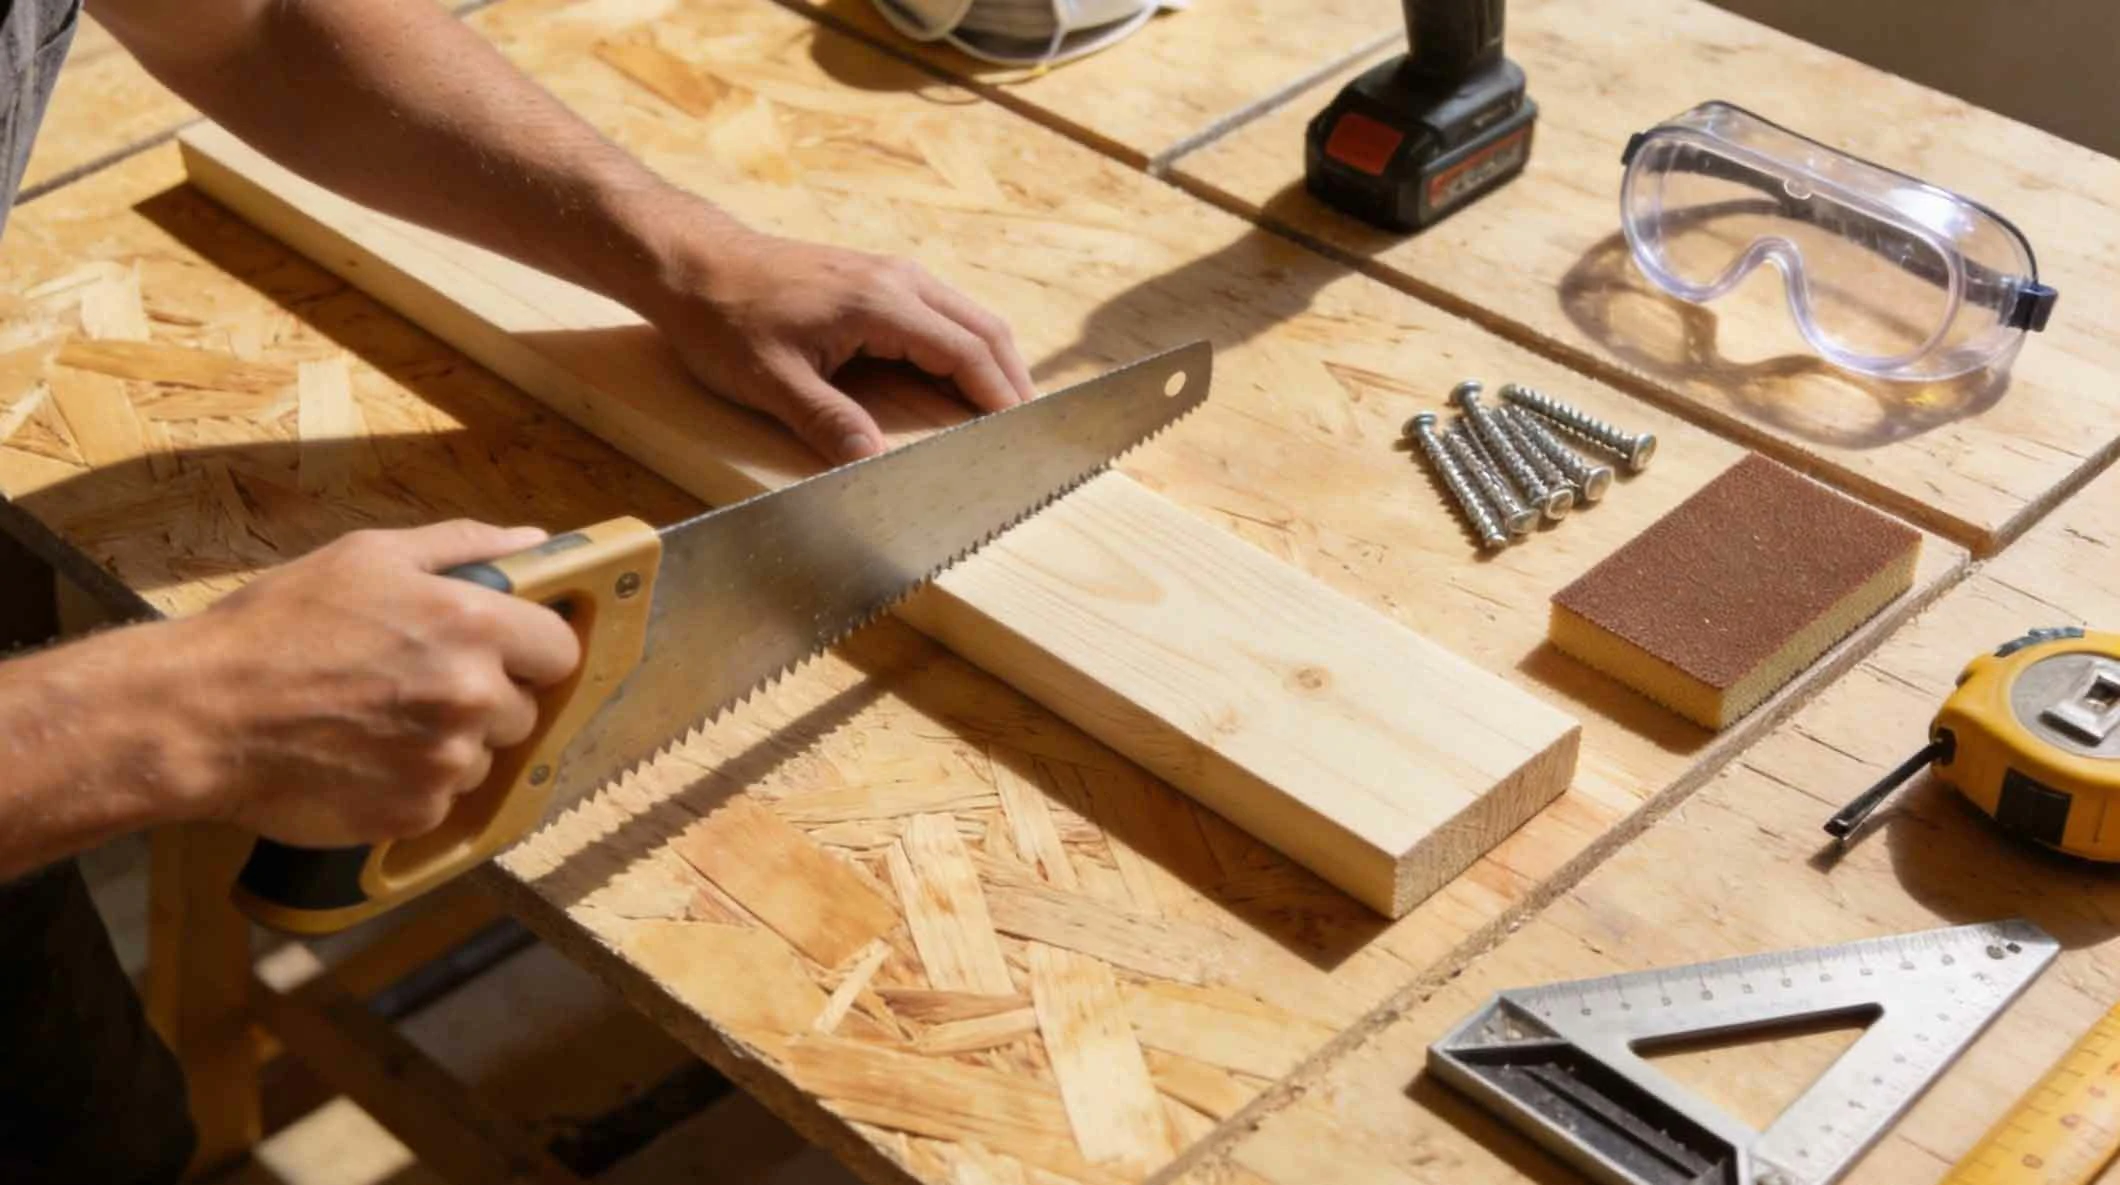
Gathering the right materials and tools is the first critical step. This project requires basic woodworking supplies, most of which can be found at a local hardware store or may already be in your garage.
1. Wood
Select a smooth, sanded wood like pine, poplar, or birch plywood for a clean finish. The exact dimensions will depend on your design, but a standard starting point is a 1"x10" board (which is actually 9.25" wide) that is 4 feet long. This is often enough for a simple multi-slot organizer.
2. Saw
A handsaw, jigsaw, or circular saw is necessary for cutting the wood to size. A miter saw is ideal for making perfectly square cuts quickly and accurately.
3. Drill and Bits
A power drill is essential. You will need a drill bit for pilot holes (slightly smaller than your screw diameter) and a countersink bit to recess the screw heads for a smooth finish.
4. Screws and Sandpaper
Use 1 1/4" to 1 1/2" wood screws for a strong hold. Have assorted grits of sandpaper (e.g., 120-grit and 220-grit) on hand to smooth all cut edges and surfaces.
5. Measuring Tape, Pencil, and Square
Accurate measurement and marking are key to a professional-looking result. A carpenter's square ensures your cuts and assemblies are perfectly perpendicular.
6. Safety Gear
Do not overlook safety glasses and hearing protection when using power tools, and a dust mask when sanding.
Advertisements
2. Design and Planning Your Organizer
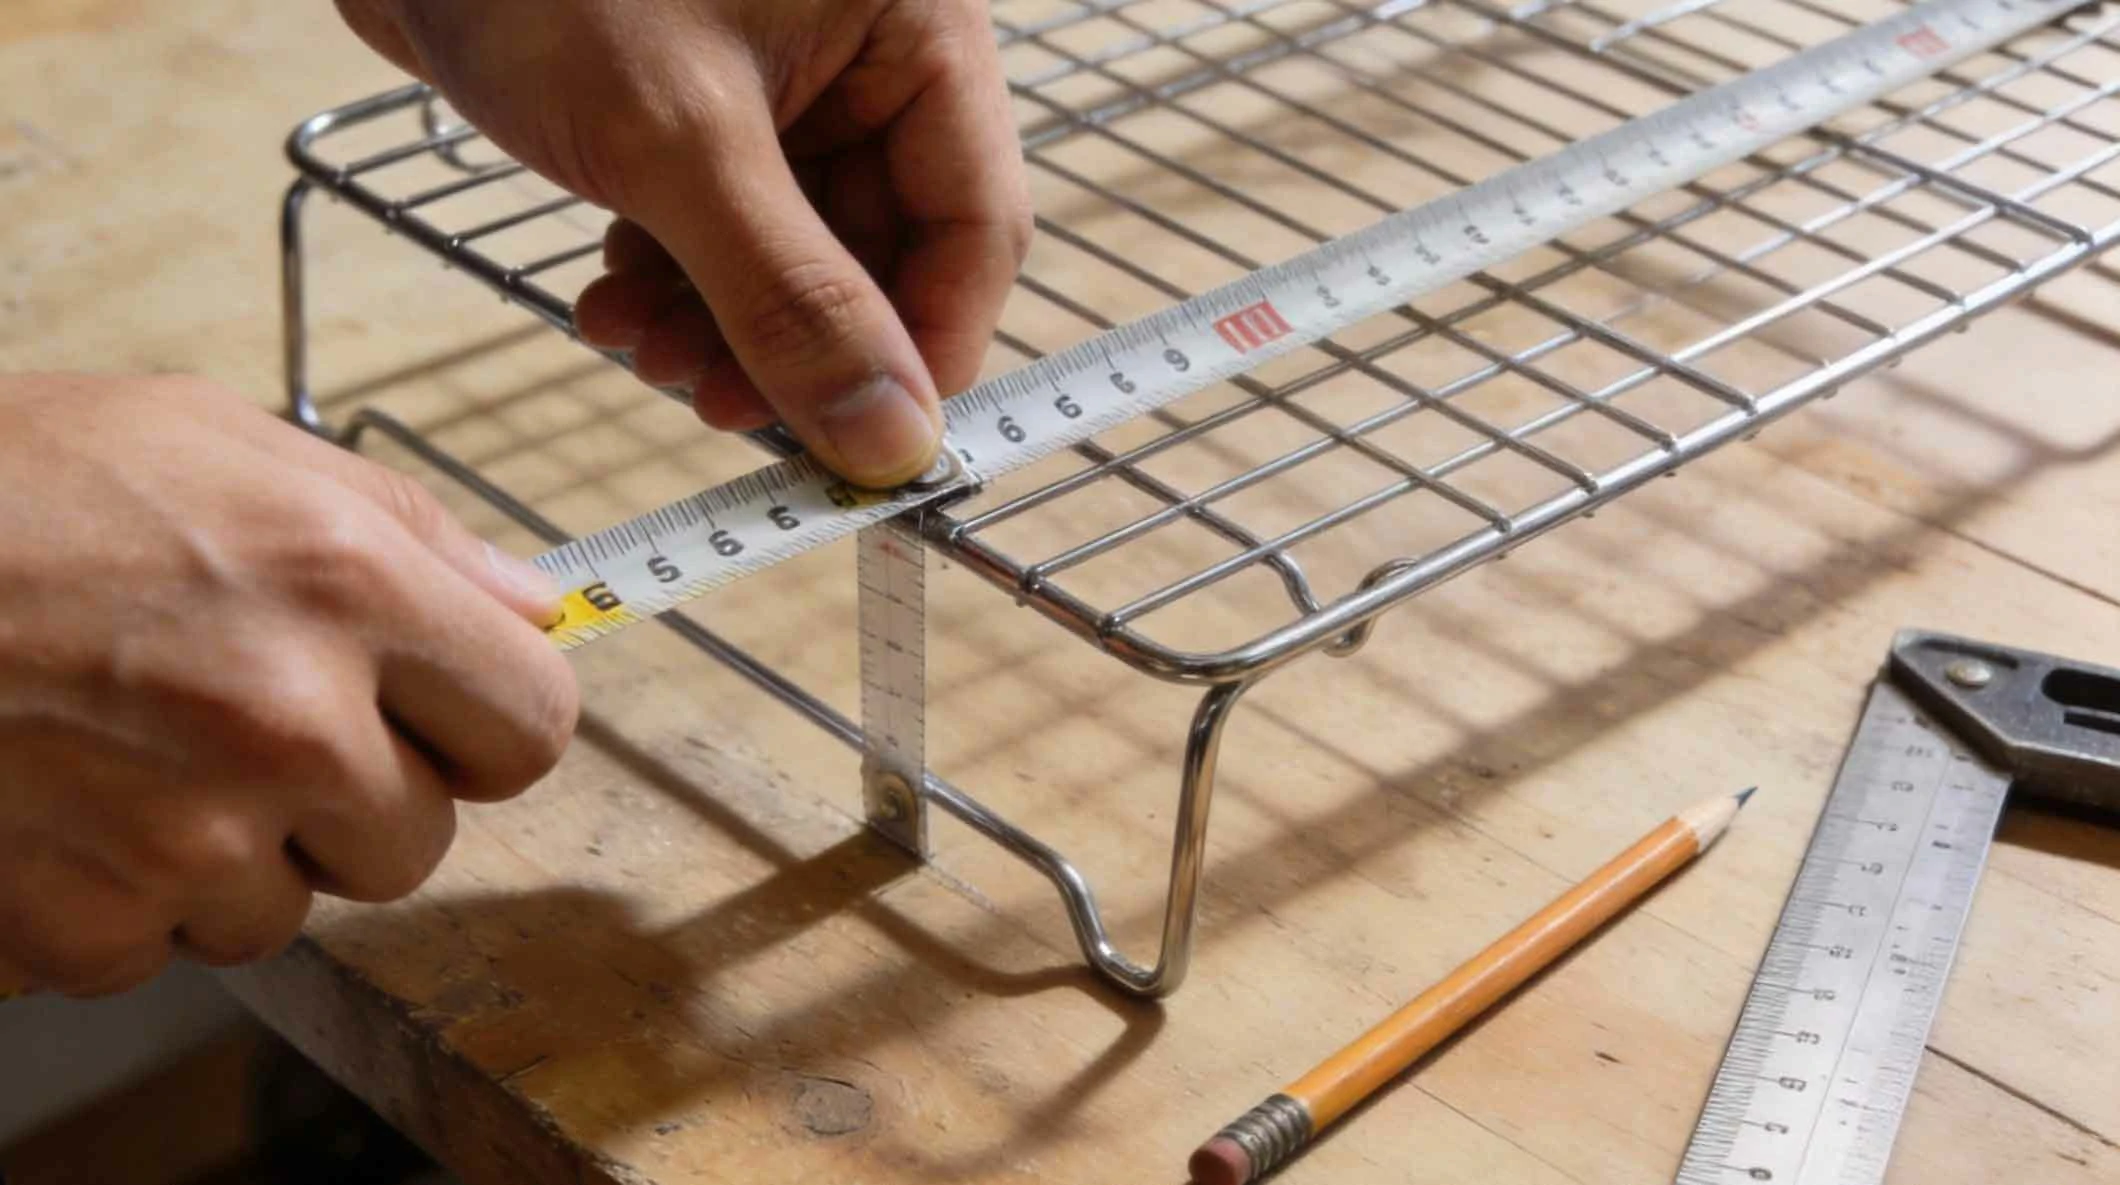
Before making a single cut, plan your design. Consider the number and sizes of your cooling racks, as well as where the organizer will live—inside a deep drawer, on a shelf, or on the counter.
1. Measure Your Cooling Racks
Measure the length, width, and thickness of each rack. Note the largest dimensions. The slots in your organizer must be slightly wider than the thickest rack and tall enough to accommodate the longest one without tipping.
2. Determine Slot Width and Spacing
A slot width of about 1/2 inch to 3/4 inch is usually sufficient for most wire racks. Space the divider walls 1/4 inch to 1/2 inch apart to allow easy insertion and removal without being too wobbly.
3. Choose a Configuration
The simplest design is a rectangular box with vertical dividers. Decide on the outer dimensions: the base (length and width) and the height of the side walls. The side wall height should be at least half the length of your longest rack for stability.
4. Sketch a Cutting Plan
Draw a simple diagram listing all pieces: one base, two long sides, two short ends, and the internal dividers. Calculate the exact lengths based on your design to minimize waste from your wood board.
3. Step-by-Step Assembly Instructions
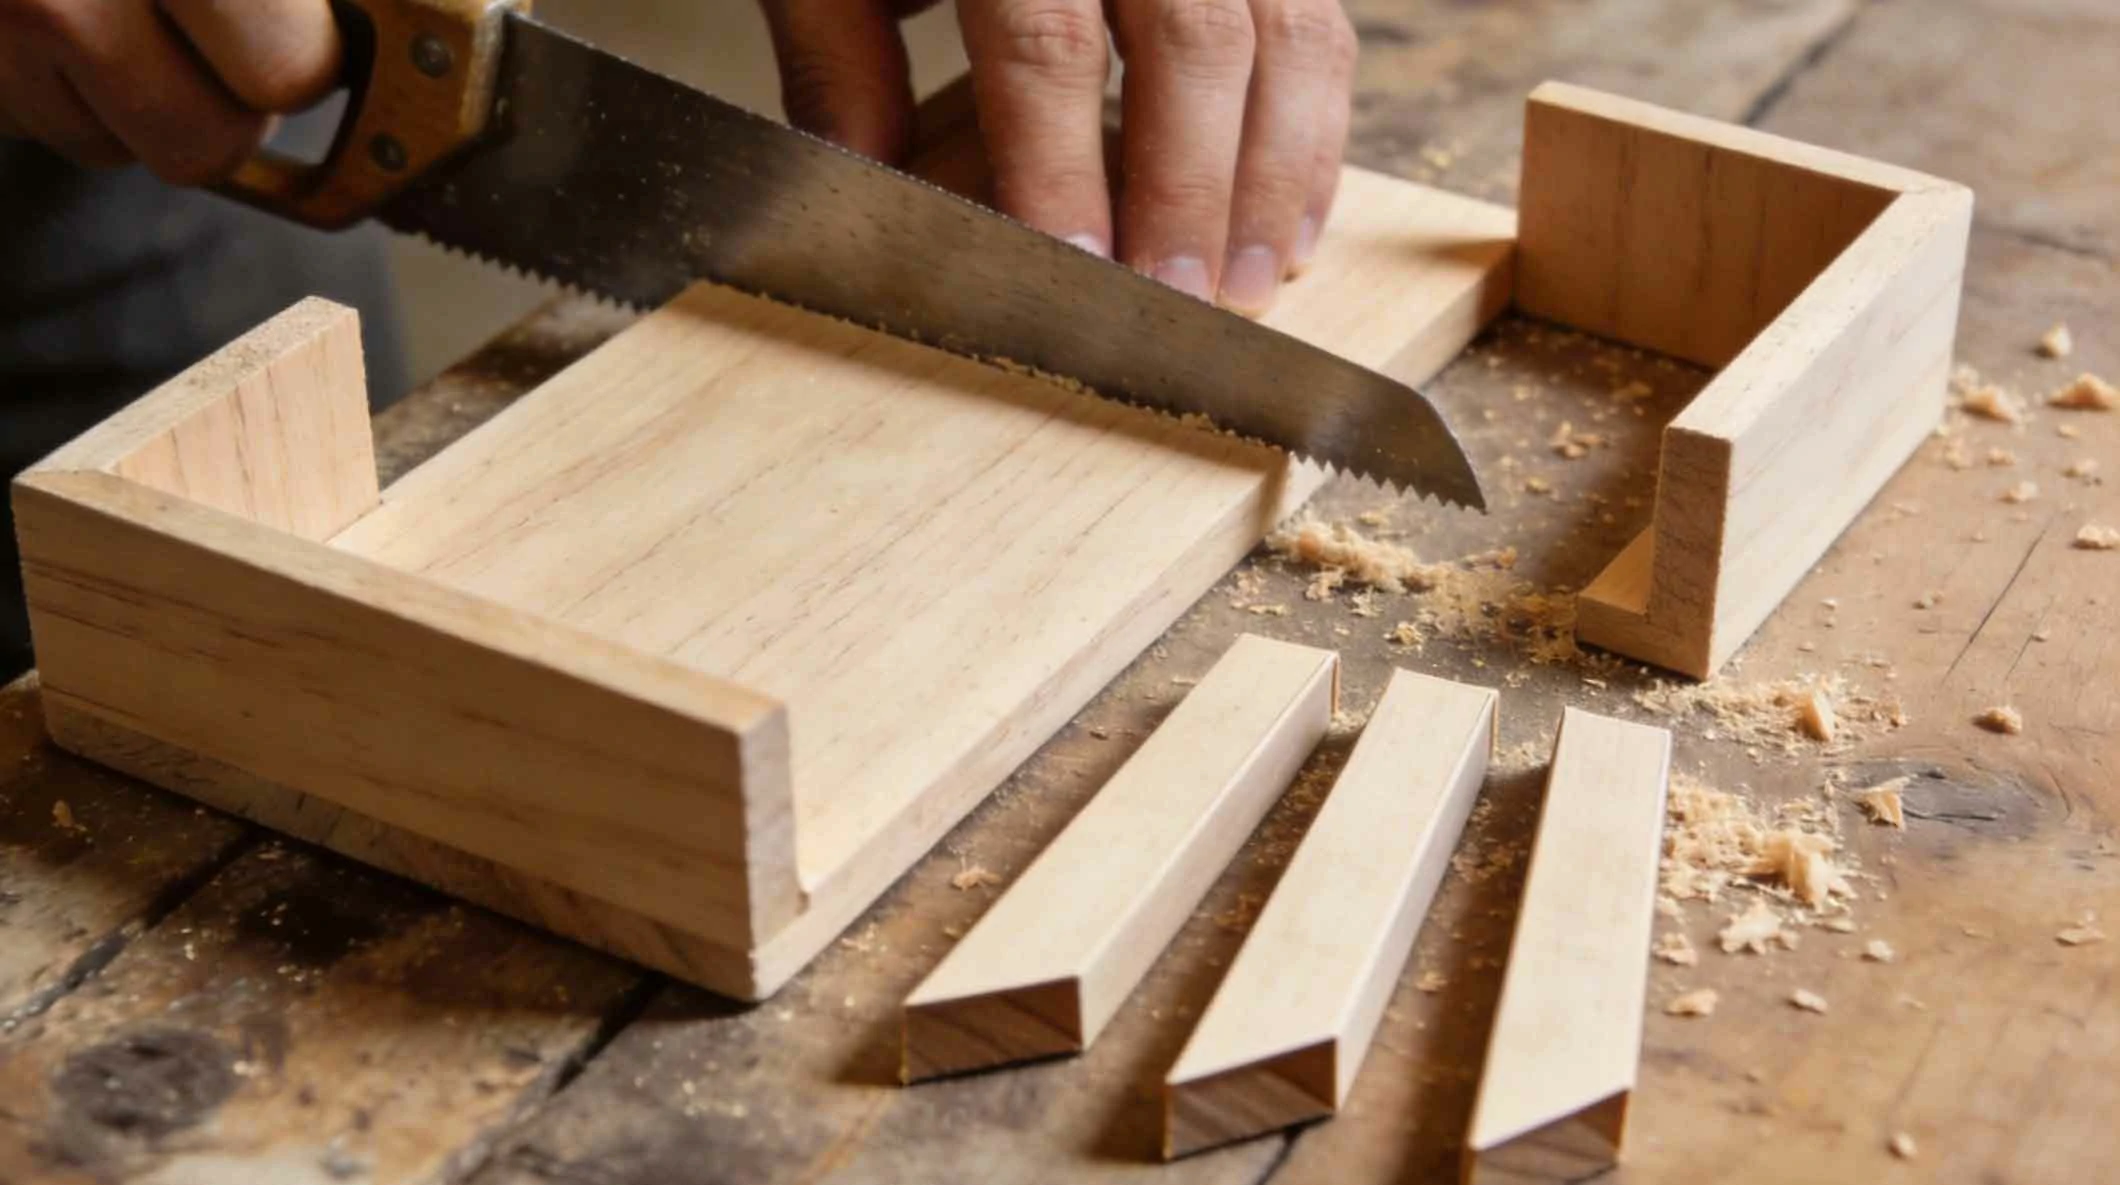
With materials ready and a plan in hand, you can begin construction. Work on a stable, flat surface.
1. Cut the Wood Pieces
Using your measurements and cutting plan, carefully mark and cut all pieces: the base panel, the two side panels, the two end panels, and the divider panels. Double-check measurements before cutting.
2. Sand All Pieces Thoroughly
Sand every cut edge and surface, starting with a coarser grit (120) to remove splinters and smooth rough edges, then progress to a finer grit (220) for a satin-smooth finish. This prevents splinters and prepares the wood for finishing.
3. Assemble the Outer Box
Attach the side panels to the edges of the base panel. Apply a dab of wood glue to the joining edge, align the piece, and then secure it with screws driven through the side panel into the edge of the base. Pre-drill pilot holes to prevent the wood from splitting. Repeat for the other side and both ends to form a simple open-topped box.
4. Install the Interior Dividers
Mark the positions for your dividers on the base and the inside of the side panels. Ensure they are parallel and evenly spaced. Secure the dividers by driving screws through the exterior side panels into the ends of the dividers, and optionally add a small screw up through the base into the bottom of each divider for extra rigidity.
5. Apply a Finish (Optional but Recommended)
While bare wood is functional, a finish protects from moisture and grease. A simple wipe-on food-safe mineral oil or beeswax sealant is perfect. For a painted look, use a non-toxic, water-based paint or sealant suitable for kitchen items.
Advertisements
Advertisements
You May Have Missed

39 Awkward Vacation Photos You Absolutely Should See

Man gives hitchhiker a lift home—and is shocked by the news the next day