
4. Mixing, Coloring, and Pouring the Epoxy
Advertisements
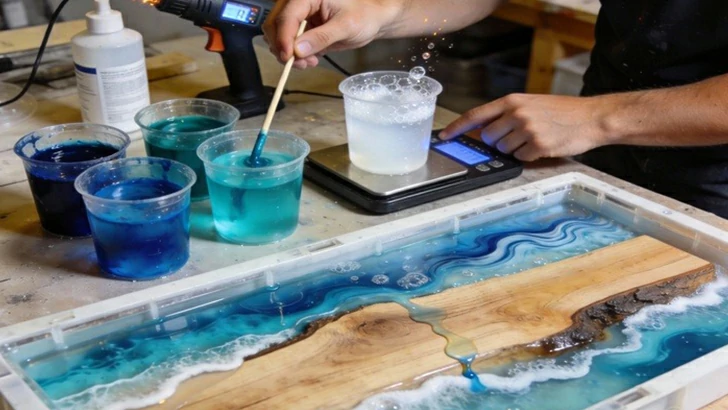
This is the transformative and most visually rewarding stage of the project. Precision and a steady hand are key.
1. Precise Epoxy Mixing
Following the manufacturer's ratio exactly (by weight, not volume), thoroughly mix the resin and hardener for the recommended time, often 3-5 minutes. Scrape the sides and bottom of the mixing container to ensure a homogenous mix. Inadequate mixing results in a tacky, uncured surface.
2. Creating the Ocean Color Effects
Divide the mixed epoxy into several cups. Using high-quality pigment pastes, create different shades: deep ocean blue, medium aqua teal, and a translucent white for foam and wave crests. Stir each color gently to avoid introducing excessive air. For a sandy bottom effect, you can mix fine, epoxy-safe sand into a small portion of clear or tan-colored resin.
3. The Layered Pouring Technique
Start by pouring a clear or sandy-colored layer at the bottom if desired. Then, pour your different blues and teals in sections, allowing them to blend slightly at the edges. Use a stick or gloved finger to swirl the colors minimally, creating natural-looking wave patterns. Pour the white "foam" last, drizzling it along the "shoreline" of the wood. Use a heat gun in quick passes to pop surface bubbles.
5. Curing, Demolding, and Sanding
Patience is paramount after the pour. Rushing the cure or sanding process can ruin the piece.
1. The Curing Process
Cover the piece with a box or plastic sheeting to protect it from dust while it cures. Deep-pour epoxy may remain tacky for 24-48 hours but requires a full 72 hours to a week to harden completely, depending on the brand and ambient temperature. Do not attempt to demold or move it until it is fully hardened.
2. Careful Demolding
Once fully cured, carefully dismantle the mold. The epoxy should release easily if the mold was properly prepared. You will now have a rough "blank" of your table with the wood encapsulated in a thick, clear epoxy block with sharp edges.
3. Sanding for a Flat, Clear Surface
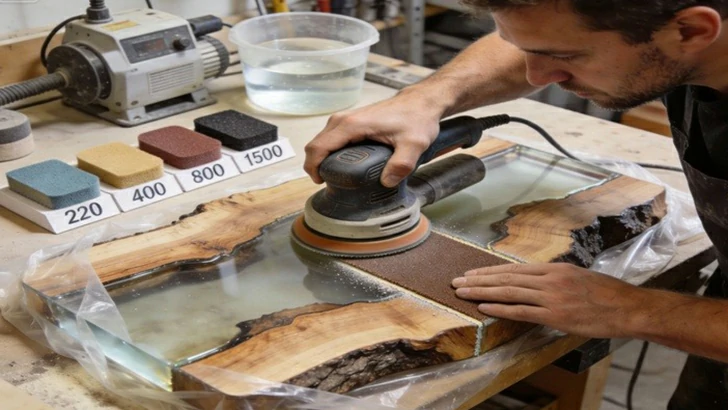
Begin sanding the top surface with a coarse grit (80-120) on an orbital sander to flatten any unevenness and remove mold seams. Progress methodically through the grits (220, 400, 800, 1500, 2000), wet-sanding with higher grits for a finer finish. The goal is to erase all scratches from the previous grit until the surface is uniformly smooth and begins to look hazy.
Advertisements
6. Polishing and Adding Final Details
The final steps transform the hazy sanded surface into a crystal-clear, glass-like finish and add personal touches.
1. Polishing to a High-Gloss Clarity
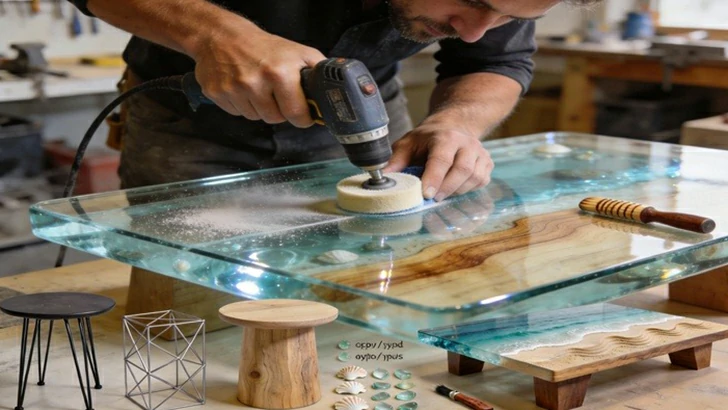
Apply a fine polishing compound with a soft buffing pad attached to a drill or polisher. Work in small sections, applying light pressure until the compound clears the haze and a brilliant shine emerges. Follow with a final application of a food-safe wax or epoxy polish to protect the surface and enhance the gloss.
2. Attaching the Base or Legs
Choose a base that complements the beach aesthetic, such as hairpin legs, a geometric metal frame, or a natural wood base. Mark and pre-drill holes in the epoxy/wood bottom, using appropriate anchors if screwing directly into epoxy. Securely attach the base, ensuring the table sits level and stable.
3. Optional Embellishments
For a true beach feel, consider embedding small, real seashells or pieces of sea glass into a final, thin "flood coat" of epoxy on the surface before the final polish. Alternatively, use a wood-burning tool to create a subtle wave or sand dune design on the wooden "shore" area.
7. Care and Maintenance of Your Epoxy Table
With proper care, your handmade table will remain a stunning focal point for years.
1. Daily Cleaning
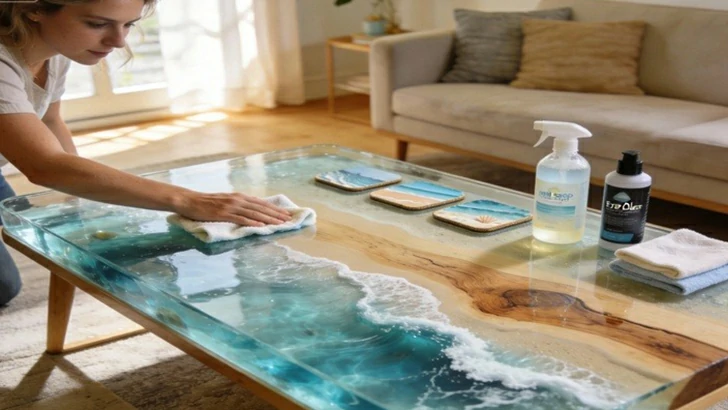
Wipe the surface with a soft, damp cloth. Avoid abrasive cleaners or scrub pads. For disinfecting, a mild soap solution is safe, but avoid ammonia or alcohol-based products which can cloud the finish over time.
2. Protecting the Surface
Use coasters for all drinks to prevent potential water rings or heat damage from hot cups. Although epoxy is durable, prolonged exposure to direct sunlight can cause slight yellowing in some formulas.
3. Long-Term Upkeep
If minor scratches appear over time, they can often be buffed out with a small amount of epoxy polish. For deeper scratches, a light wet-sanding with a very high grit (2000+) followed by re-polishing can restore clarity.
Advertisements
Advertisements
You May Have Missed
How long are your pinky and ring fingers? Finger longth reveal your personality

Husband divorces wife after she gives birth to black child, her secret revealed 10 years later